Italian Beef Cut Guide: Choosing the Best Roast
If you're aiming to make a genuine Italian beef sandwich at home, the first and most critical decision happens at the butcher counter. Get the cut wrong, and you'll end up with something tough, dry, or just not right. After years of testing (and a few disappointing dinners), I can tell you the answer isn't as simple as a one-word reply. The authentic, Chicago-style Italian beef is built on a specific cut chosen for a very specific reason: top round roast, also known as inside round.
What You'll Learn in This Guide
Why Top Round is the Undisputed Champion for Italian Beef
Let's cut through the noise. You'll see recipes online suggesting chuck roast, brisket, or even sirloin. Those can make a decent pot roast, but for the texture that defines Italian beef—tender enough to pull apart yet firm enough to hold its shape when sliced paper-thin—top round is non-negotiable.
It comes from the rear leg of the cow, a lean, well-exercised muscle. That leanness is key. Unlike fatty cuts like chuck, top round absorbs the seasoned broth (the "gravy") during the long, slow cook without becoming greasy or falling apart into shreds. It's all about that soak-up ability. The muscle fibers are tight and parallel, which is why slicing against the grain after cooking is the magic trick that transforms a potentially tough cut into melt-in-your-mouth perfection.
Here's a comparison I put together after testing several popular cuts side-by-side:
| Beef Cut | Best For Italian Beef? | Flavor & Fat Content | Final Texture After Slow Cooking | Biggest Pitfall |
|---|---|---|---|---|
| Top Round (Inside Round) | YES - The Traditional Choice | Beefy, very lean | Firm, perfect for ultra-thin slicing, absorbs juices brilliantly. | Can be dry if overcooked. Slicing direction is critical. |
| Bottom Round (Rump Roast) | Good Alternative | Beefy, slightly more fat/marbling | Very similar to top round, perhaps a touch more tender. | Shape can be irregular, making even slicing harder. |
| Chuck Roast (Shoulder) | Not Ideal | Very rich, high fat/marbling | Falls apart into shreds. Too loose for proper sandwich slices. | Becomes "pulled beef," not sliced Italian beef. Can be greasy. |
| Brisket (Flat Cut) | Not Recommended | Intense, moderate fat | Can slice, but texture is denser and more BBQ-like. | Overpowers the herb/garlic broth. Wrong flavor profile. |
| Sirloin Tip Roast | Acceptable in a Pinch | Lean, tender | Tender but can lack the robust beefiness. Can be pricey. | You're paying for tenderness you'll cook out. Poor value. |
One nuance most home cooks miss: many butchers and Chicago sandwich shops actually use a whole bottom round because it's bigger and feeds a crowd. For a home kitchen, a 3-4 pound top round roast is the sweet spot. The principle is the same—it's a lean cut from the rear leg that slices beautifully.
How to Pick the Perfect Top Round Roast: A Butcher's Eye View
Don't just grab the first plastic-wrapped package. Look for these details:
- Color: Bright, cherry red. Avoid meat that looks brownish or has dark spots.
- Fat Cap: A thin, even layer of white fat on one side is good. It will baste the meat as it renders. You don't want a huge, thick cap.
- Shape: Look for a roast that's as even in thickness as possible. A long, cylindrical shape is easier to slice evenly than a lopsided ball. If you have a choice, ask the butcher for the "first cut" or "small end" of the top round—it's more uniform.
- Size: 3 to 4 pounds is ideal for a standard roasting pan and feeds 6-8 people generously. A roast smaller than 2.5 pounds might cook too fast and dry out.
Pro Tip: Don't be afraid to ask your butcher to trim and tie it for you. Trimming excess silver skin (that tough, silvery membrane) is a pain at home. A neatly tied roast cooks more evenly. Most good butchers will do this for free if you ask nicely.
Top Round Alternatives (And When You Might Use Them)
Okay, so top round is king. But what if your store is out? Or you want to experiment?
Bottom Round Roast: The First Cousin
This is the most common and acceptable substitute. It comes from the same primal (the round) but is from the outside muscle. It's often a bit larger, has slightly more connective tissue, and can be a tad more flavorful due to a bit more fat. The cooking method is identical. If you see a "rump roast" that's well-trimmed, it's likely a bottom round. It works great.
Eye of Round: The Lean, Mean Option
This is the most tender part of the round, but it's also the smallest and leanest. It's a solid cylinder of meat with almost no fat. The risk here is it can dry out if you're not vigilant with your braising liquid. I'd only use it if it's all I could find, and I'd be extra careful not to overcook it. The slices will be very neat, though.
Here's the truth: many commercial kitchens use a mix of rounds because they're buying whole primal cuts. For you at home, sticking with top or bottom round is the surest path to success.
From Prep to Plate: A No-Fuss Method for Home Cooks
Knowing the cut is half the battle. Here’s how to treat it right.
Step 1: The Prep (More Than Just Salt and Pepper)
Pat your 3-4 lb top round roast completely dry with paper towels. This is crucial for a good sear. Season aggressively with kosher salt and black pepper. Don't be shy—this is a big piece of meat. For an extra flavor layer, rub it with a mix of garlic powder, dried oregano, and a little crushed red pepper flake. Let it sit out for 30-60 minutes to take the chill off.
Step 2: The Sear and Braise
Heat a tablespoon of oil in a heavy Dutch oven over medium-high heat. Sear the roast on all sides until you have a deep brown crust. This builds flavor. Remove the meat. In the same pot, sauté a sliced onion and 6-8 garlic cloves for a minute. Pour in 4 cups of low-sodium beef broth, a splash of white vinegar or a jar of giardiniera juice (the real Chicago trick!), and herbs like oregano and thyme. Scrape up the browned bits. Return the roast to the pot, liquid should come about halfway up its sides. Bring to a simmer, then cover and transfer to a preheated 300°F (150°C) oven.
Step 3: The Slow Cook and The Most Important Step
Cook until the meat is fork-tender but not falling apart. This usually takes 3 to 3.5 hours for a 4-pound roast. Start checking at the 2.5-hour mark. The internal temperature should be around 200-205°F (93-96°C) for shreddable tenderness. Now, the critical move: Let the roast rest in its juices for at least 30 minutes, but preferably an hour. This allows the fibers to relax and reabsorb moisture.
Step 4: Slicing – Where the Magic Happens
Find the direction of the grain (the long muscle fibers). Using a very sharp carving knife or an electric knife, slice across the grain into the thinnest slices you can possibly manage. I'm talking deli-slice thin. This shortens the tough muscle fibers, making each bite tender. Return all the slices to the warm broth (the "au jus") until you're ready to build your sandwiches.
Your Italian Beef Questions, Answered
So, there you have it. The heart of a great Italian beef sandwich is a humble top round roast, treated with patience and respect. It's not the most expensive cut, but with the right technique, it transforms into something truly special. Now go find that roast, get your braise on, and don't forget the giardiniera and sweet peppers for the full experience.
Related Articles

What's in Italian Penicillin Soup? The Real Italian Cure-All Recipe

Three years and five visits to the Hong Kong Stock Exchange, can Wumart realize
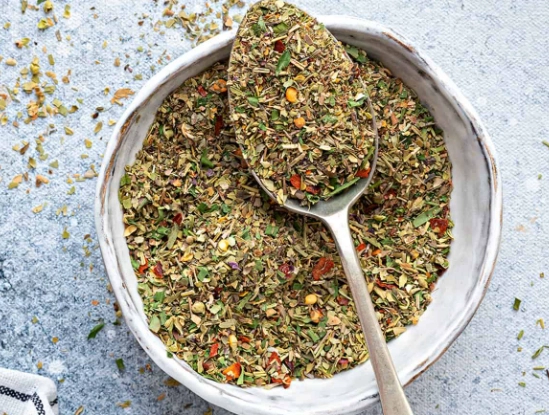
What’s in Italian Seasoning? A Complete Guide to Herbs and Spices
Traditional Italian Vegetarian Recipes: Classics Beyond Pasta
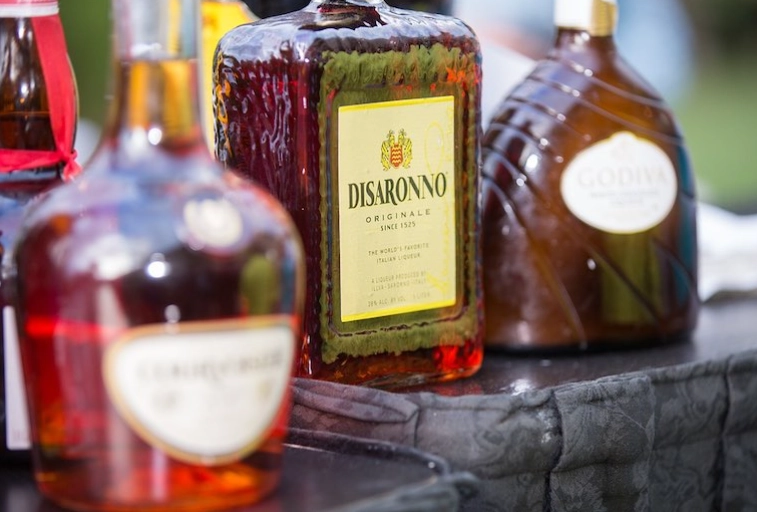
Famous Italian Alcoholic Drinks: A Guide to Aperitivo, Dinner, & Digestivo